This is an old revision of the document!
Table of Contents
 This page is not fully translated, yet. Please help completing the translation.
(remove this paragraph once the translation is finished)
Instructions for using the Amlogic Burning Tool
Burning Tool is a program for flashing devices based on Amlogic processors. Used for low-level firmware, using the bootloader built into the processor. The program is installed using the installer, like other software under Windows OS. Administrator rights are required for installation. During installation, the program also installs the required driver.
You can download the program at: http://update.jethome.ru/tools/USB_Burning_Tool_v2.2.3.zip
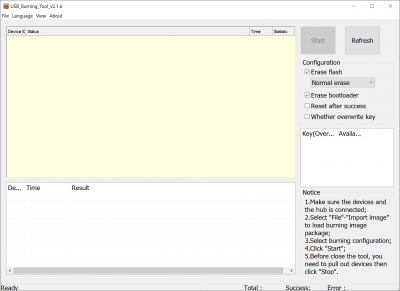
Appearance of the main program window:
Device connection
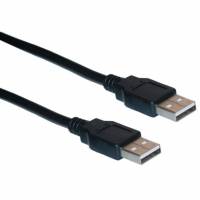
For flashing, the device must be connected with a USB Type A - USB Type A cable to a PC. The controller is also powered during the firmware via this USB cable and it is not necessary to connect the main power source. Some devices have more than one USB port. See the instructions for your device to find out through which USB port the device is connected for firmware.
Turning on and booting the device
For flashing, the device must be booted in bootloader mode (update mode). This can be done in several ways:
- As a rule, the device has a button to switch the boot mode. The button can be accessed through a hole in the housing. When turning on the device or rebooting it, it is necessary to hold this button pressed for 1-2 seconds from the moment the USB cable (power) is connected.
- If there is a console connected to the device, then you can interrupt the loading of the Linux kernel (for example, by pressing the Enter key immediately after turning on or rebooting the device) and enter the u-boot command input mode. At the u-boot command prompt, run the update command.
- For other ways to switch to bootloader mode, see the instructions for your device.
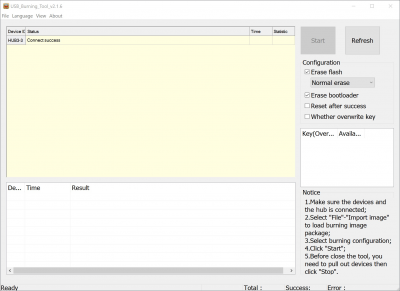
After the device is successfully connected to the PC and identified in the Burning Tool program, the inscription “Connect success” will be displayed in the main program window.
Selecting a software image for firmware
Open the menu “File” → “Import image” and select the image for the firmware on the disk. The image will be verified, this may take a long time.
If no errors are found during the verification process, then the program will not display any messages at the end of the verification.
Firmware image
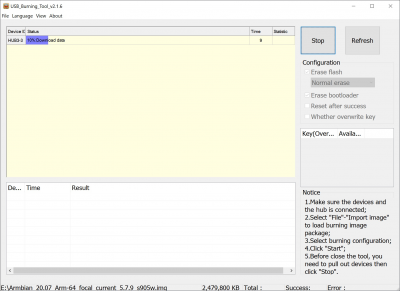
To start flashing the image, click the “Start” button in the upper right corner of the main program window. The firmware process will begin.
If errors occur during the flashing of the HassOS image, then it is necessary to uncheck the “Erase flash” checkbox before starting the flashing process.
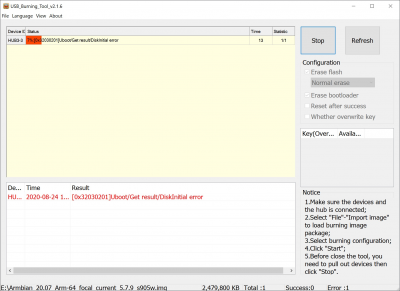
If any error occurs, the process is interrupted and messages describing the error will be displayed at the bottom of the program window.
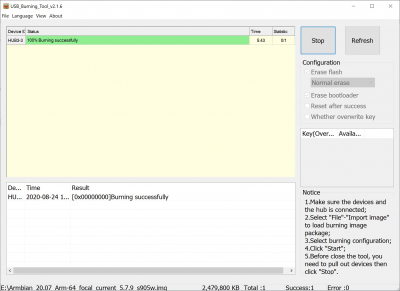
Upon completion of the firmware process, a message will be displayed: “Burning successfull”.
After that, you can click on the “Stop” button, prohibiting the automatic start of the firmware procedure when the device is connected to the PC again.

